
Curved light is an effective way to draw attention to the shape of a space. It can outline a counter, follow a decorative arch, trace a logo or define the edge of a wall feature. Flexible LED neon is designed to create a more continuous luminous appearance than an uncovered strip of individual LED points. That visual simplicity depends on a surprisingly careful installation process. Bend direction, minimum radius, mounting supports and cable connections must all be considered before the final curve is fixed. A strong neon detail begins with an accurate drawing, not with improvisation on the wall.
Draw the luminous path at full scale
A narrow curve on a computer screen can conceal difficult installation geometry. Print the design at full size or mark it on a suitable template board. This reveals where the line turns tightly, changes direction or passes close to a structural edge. The outer dimension of the neon body matters because its luminous centreline does not necessarily follow the edge of a mounting channel.
Use Flexible LED neon strip to compare available product families and accessory arrangements for a specific project. The category includes different voltage classes and physical sizes, so the chosen model must be matched to its intended bend, mounting method and supply. Do not treat every flexible product as interchangeable merely because two samples look similar while illuminated.
Respect the intended bending plane
Flexible neon products have limits on the direction and radius of bending. Some are designed to bend primarily sideways, while others bend in a different plane. Twisting the body to force a complex curve can place stress on the internal electrical structure or diffuser. The allowed bend radius belongs to the specific manufacturer’s documentation and should be checked before fabrication.
Mark the intended bending plane on the template. If the line must turn through a third dimension, consider changing the mounting detail or dividing the installation into suitable sections. At sharp transitions, a designed corner or separate termination can produce a more reliable result than forcing the luminous body into a shape outside its stated limits.
Choose mounting hardware for the surface
A flexible luminous body still needs regular support to maintain a smooth curve. The spacing and type of clips or channels influence whether the installed line develops flat sections or sags. On a rigid board, small differences between fixing points become visible as uneven geometry when the light is switched on. Follow the support arrangement recommended for the chosen product.
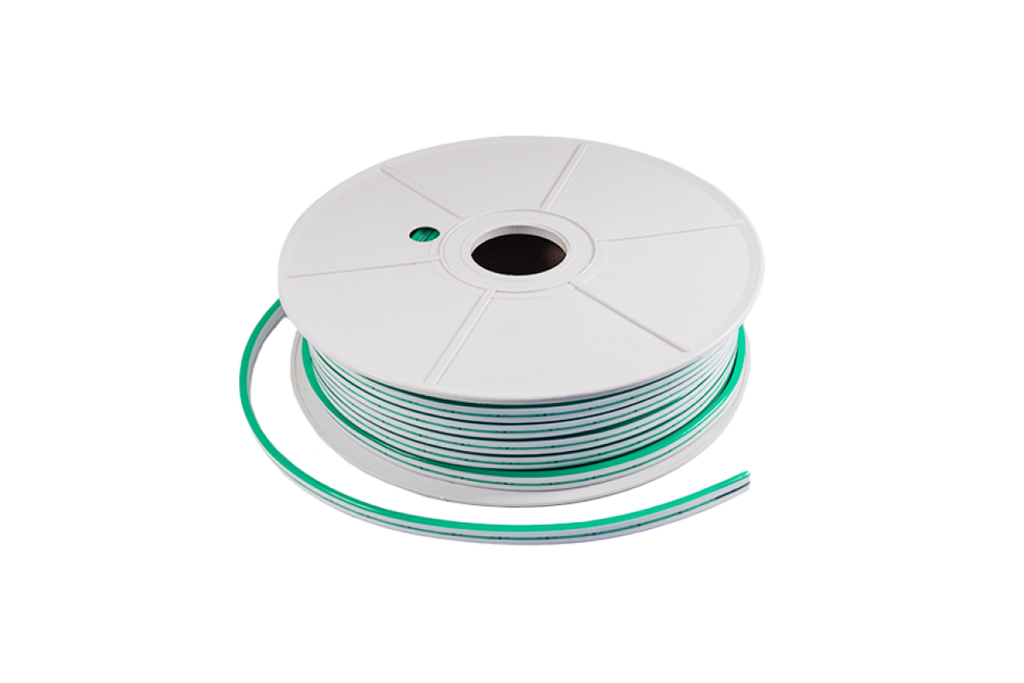
Wall plaster, timber, metal and outdoor masonry have different fastening requirements. Prepare a consistent base and check whether screws can be installed safely without damaging concealed cables or services. When a profile is used, verify that its internal dimensions match the neon body. The mounting channel should locate the product securely without pinching or distorting it.
Plan electrical sections before cutting
LED neon is typically supplied with model-specific rules for cut intervals, connections and maximum run lengths. Cutting at an arbitrary point can damage the product or leave a section that cannot be connected as intended. Locate the permissible cut marks and decide where each finished section will begin and end. A short change to the drawing at this stage is better than an awkward visible joint later.
Different product lines use different input voltages and supply arrangements. Low-voltage and mains-voltage systems have distinct installation requirements and must never be connected to the wrong equipment. Use approved connectors, power supplies and installation methods for the exact model. Mains-voltage neon requires especially careful compliance with electrical regulations and manufacturer safety instructions.
Control brightness over long installations
A long luminous line may lose brightness toward the far end if cable resistance or system limits are ignored. Plan feed points using the manufacturer’s guidance on maximum run length and conductor sizing. Some installations benefit from more than one supply point or from separate sections, but the arrangement must suit the electrical design. A single decorative shape does not require a single continuous electrical circuit.
Before mounting, energise a sample using the correct supply and inspect its brightness, colour and visible joints. After installation, test the whole line under normal operating conditions. Observe whether one section appears different from another, particularly near corners or cable exits. Electrical checks are easier while connections remain accessible.
Consider colour under real surroundings
A saturated red line looks different against a white wall, dark brick or polished metal. Reflections can extend the apparent width of the luminous detail, especially beside mirrors or glossy tiles. For a subtle architectural contour, warm white may blend more comfortably with adjacent room lighting. For an event installation, a deliberate coloured effect can serve branding or wayfinding.
RGB products add control possibilities but also require compatible controllers and wiring. Check the control protocol and electrical ratings of the exact neon. Sample colours against the final wall finish, not just against a dark showroom background. A design intended to look refined in daylight should also be assessed with the system switched off, when the neon body and mounting hardware remain visible.
Treat outdoor installations as complete systems
An outdoor outline must tolerate the conditions at its exact location: rain exposure, temperature changes, sunlight and mechanical contact. The neon body’s protection rating is only one part of that assessment. Cable entries, cut ends, connectors, power supplies and mounting hardware also affect environmental suitability. Use the manufacturer’s approved sealing method for each termination and locate electrical equipment where its own enclosure rating is appropriate.
Avoid assuming that a flexible silicone-like exterior automatically makes a product suitable for permanent exterior use. Verify its documented environmental limits and any required accessories. Provide strain relief at cable exits and a mounting strategy that allows for thermal movement without stretching electrical connections. Installation quality determines whether the finished outline remains stable through seasonal changes.
Build for maintenance and a clean final view
Neon details often sit high on walls or inside shaped recesses, making later repair inconvenient. Place accessible junctions and document how sections are powered. If a line needs removal, the mounting system should permit it without destroying nearby finishes where practicable. Protect the luminous surface from paint, abrasive dust and sharp tools during the rest of the construction work.
A successful curved installation presents a smooth path of light with controlled joints and consistent brightness. Its neat appearance comes from the unlit preparation: a measured template, suitable bend radius, correct supports and matched electrical components. When those elements agree, the finished curve looks like part of the architecture rather than an accessory forced to follow it.